Showing posts with label Asian. Show all posts

Monday, October 12, 2015

Asian Meatballs with Peanut Butter Ramen Noodles

Time for another round of Secret Recipe Club and most likely one of our last since we will be stopping the blog at the end of the year. This month we were assigned Amy's Cooking Adventures. I know most of you probably picked a fall dessert or something festive for Halloween to feature today but I was looking for a new idea for dinner. Amy has plenty to choose from but for some reason her Asian Turkey Meatballs Over Easy Thai Noodles caught my eye and it ended up being delicious, easy to make and a perfect change of pace for us to have last week for dinner.

Ingredients for Asian Meatballs:
1 1/4lb Ground Turkey
1/4 Cup Panko
1 Large Egg
2 Garlic Cloves - Minced
3 Green Onions - White and Green parts Diced
1 Tbsp Lime Juice
1 Tbsp Low Sodium Soy Sauce
1 1/2 Tbsp Sesame Seeds
1 Tsp Fresh Ginger - Minced

Ingredients for Peanut Butter Ramen Noodles:
3 Packages of Chicken Flavored Ramen
1 1/4 Cup Water 
1/4 Tsp Crushed Red Pepper Flakes
1/3 Cup Natural Creamy Peanut Butter
3 Tbsp Low Sodium Soy Sauce
1 Tbsp Brown Sugar
1 Tbsp Corn Starch
2 Garlic Cloves - Minced
1 Red Pepper - Diced
1 Large Carrot - Diced
1 Tsp Fresh Ginger - Minced
3 Green Onions - White and Green parts Diced
10oz Package Frozen Plain Sugar Snap Peas
1 Tbsp Canola Oil

Start by preheating your oven to 425 F, place parchment paper on a jelly roll baking tray and set aside. In a large bowl combine all of the ingredients for the meatballs. Using your hands mix everything together.

Form your meatballs and arrange them on the baking sheet. Bake about 18 minutes until light brown. I made mine a little larger than Amy and only made 16 instead of 24 but it doesn't matter as long as you try and keep them even so their cooking time is similar. 
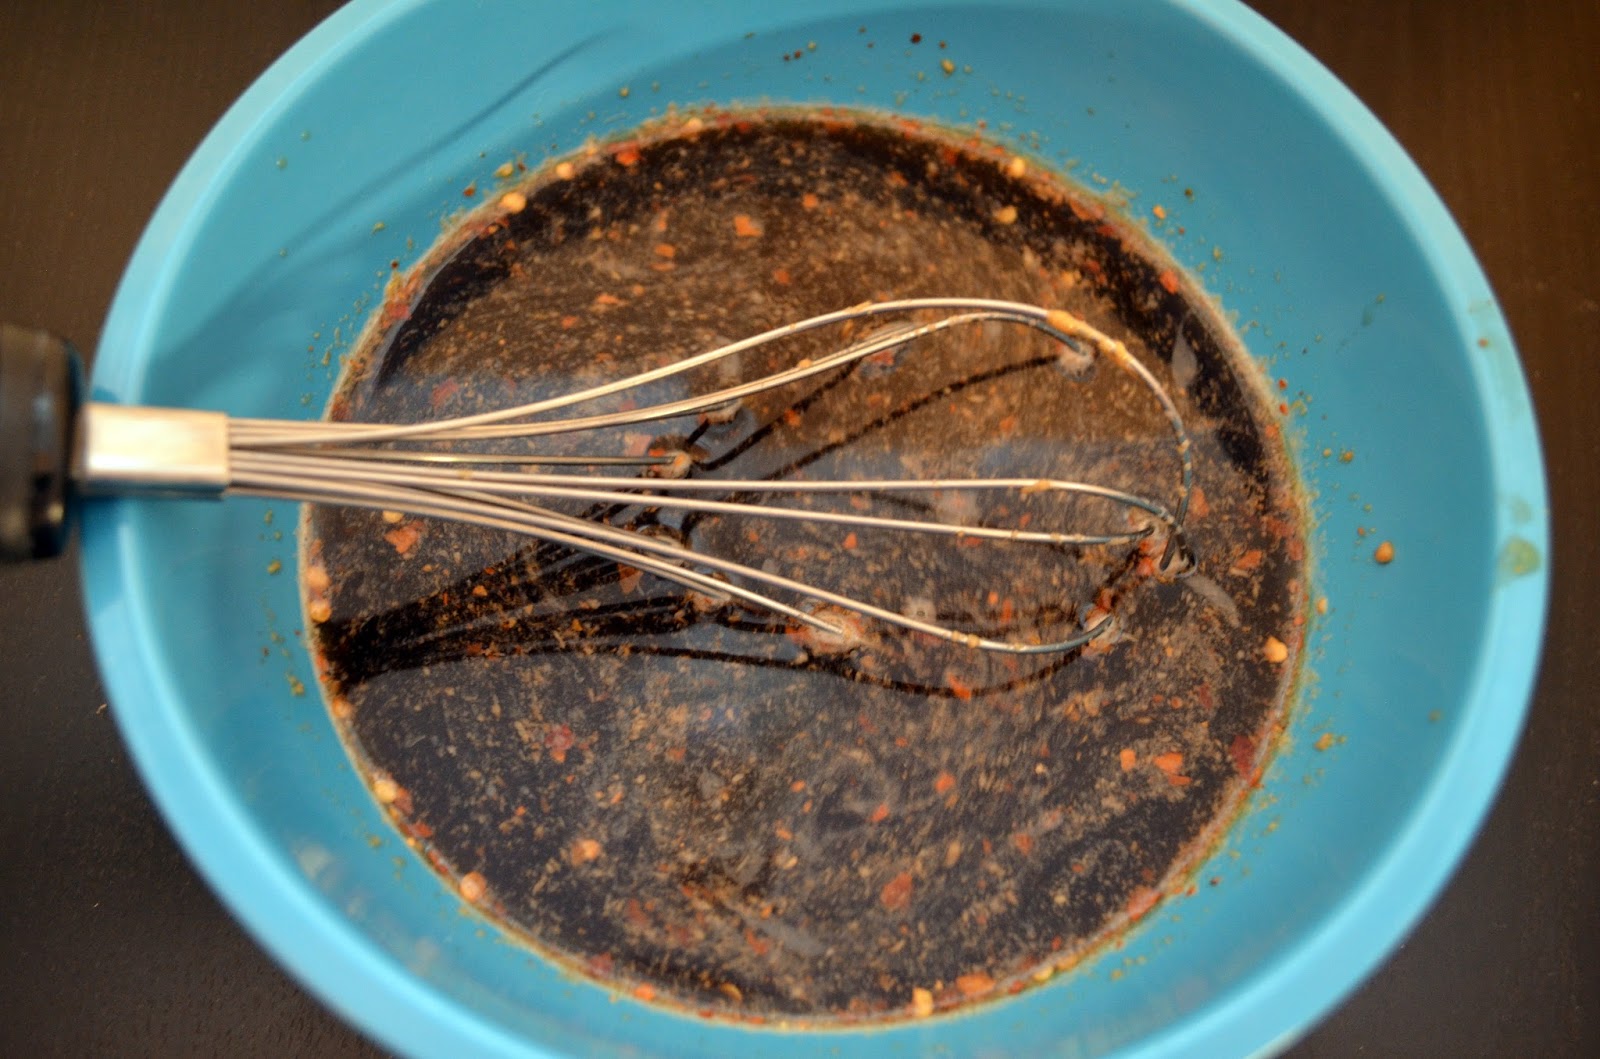
In a medium sized bowl combine all of your ingredients for the peanut sauce (peanut butter, soy sauce, ginger, garlic, corn starch, water, crushed red pepper flakes and brown sugar) Whisk together and set aside.

In your largest pan heat up the oil and saute the vegetables for about 5 minutes until they are tender but still slightly crisp. When they are ready takes them off the heat and place them in a bowl. Return the pan to the stove over medium heat and thicken the peanut sauce while stirring frequently.  While the sauce is cooking quickly prepare the packages of Ramen according to the package but only using 1 flavor package as you drain the noddles of their cooking water.

Add the noodles, vegetables and the cooked meatballs into the thickened sauce. Using some tongs toss everything together so that it has a nice coating of sauce on it. Serve the meatballs on top the bed of peanut butter Ramen and vegetables immediately.

Enjoy!!


Monday, July 28, 2014

Sweet Thai Chili Grilled Shrimp & Vegetables

We are huge fans of Red Thai Chili Sauce so when I saw it used in a recipe with grilled shrimp I immediately wanted to give it a whirl. This sauce has the perfect combination of heat and sweet making it one of our favorite condiments. We always have it on top of chicken stir-fry or use it as an Asian dipping sauce, we've even gone as far as putting on top of a Thai Chicken Pizza but since it's summer time I wanted to use it on the grill. I skewered shrimp, vegetables and pineapple, brushed it all with the sauce and put it on top of a bed of jasmine rice for a complete, quick & easy summer meal. 

Ingredients:
8 Wooden Skewers
20-25 Large Shrimp - Defrosted, Cleaned & Tails off
1 Cup Pineapple - Large Chunks
1 Red Pepper - Large Chunks
1 Green Pepper - Large Chunks
1/2 Onion - Large Chunks
4 Tbsp Red Thai Chili Sauce
2 Tbsp Light Mayonnaise
1 Tsp Fresh Chives - Chopped & more for garnish
Pam Spray

Adapted from: http://www.skinnytaste.com/

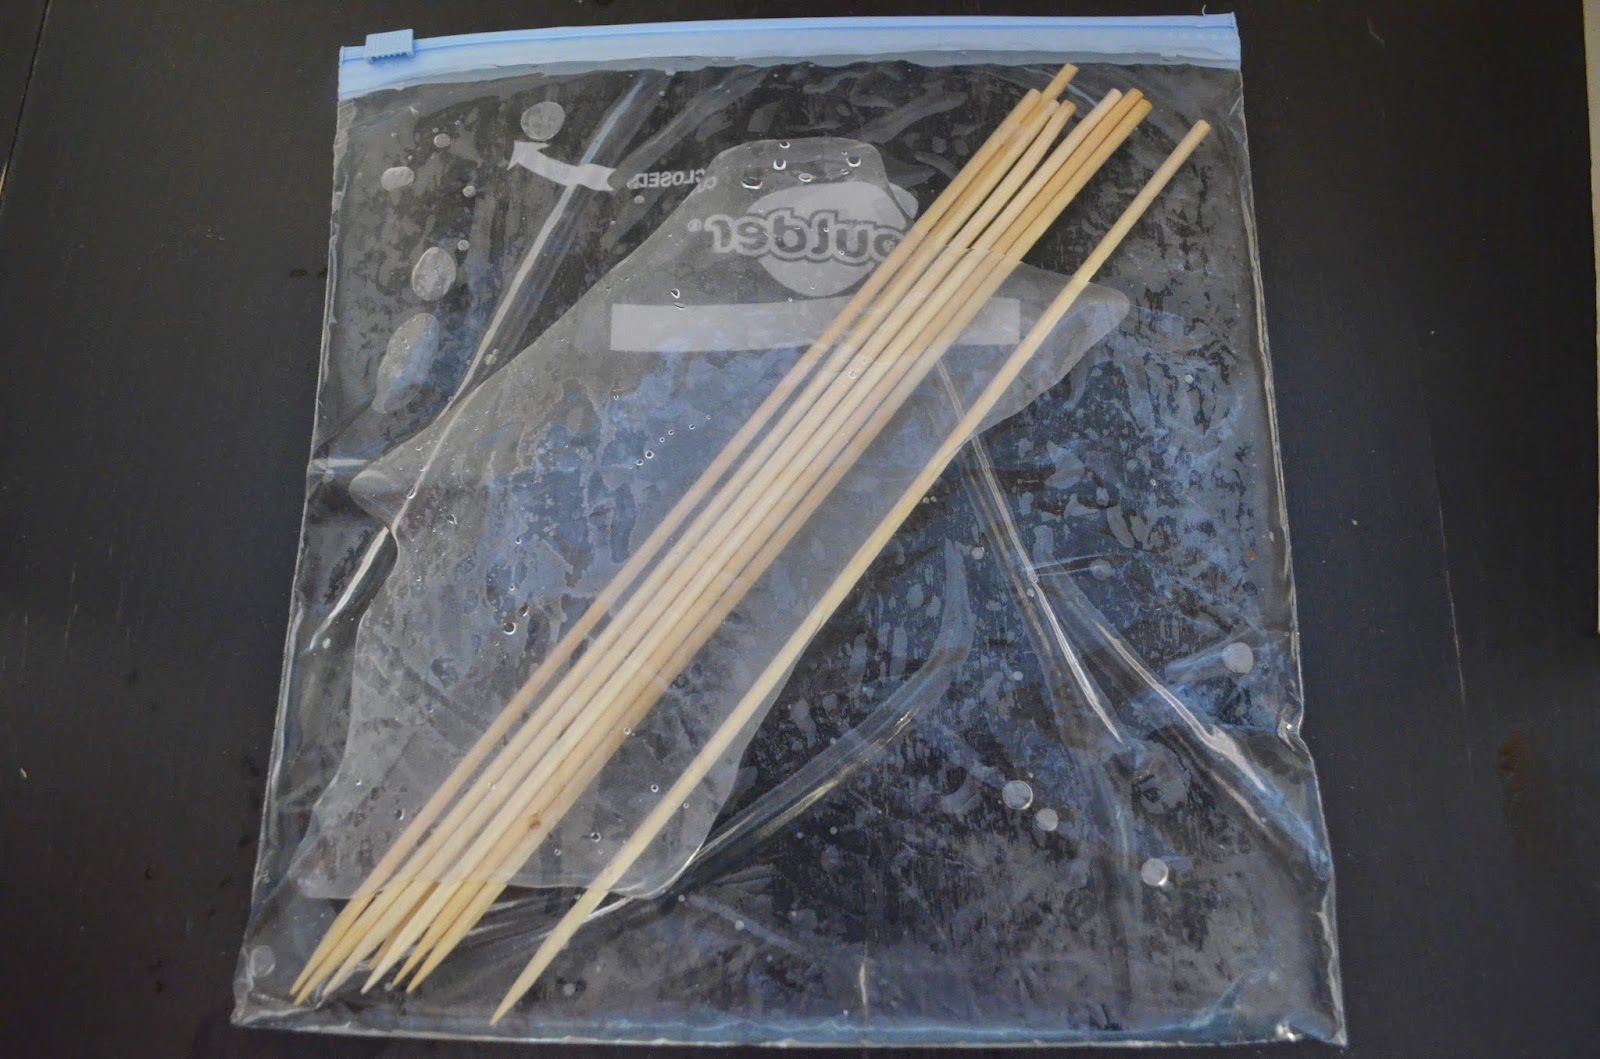
If you are using wooden skewers to grill it's important to soak them in water for about 30 minutes. I could never find a good way to do this until the other day when I decided to put them with the water in a gallon freezer bag. It worked perfectly, so much better than a large bowl with half the skewers sticking out. Obviously if you are using metal skewers this step is obsolete but be careful not to burn yourself as they get hot very quickly. 
While the skewers are soaking you can prep your shrimp and veggies. Although it looks cool to make skewers with both the shrimp and vegetables they have different cooking times so its easier to keep all the shrimp together and then have the vegetables on their own set of skewers. Put 4-5 shrimp on a skewer pushing them into the middle and allowing for room on either side of each shrimp. Place vegetables and fruit on skewers and set both aside.
Make sure your grill has been cleaned, spray it with Pam and preheat it to medium heat. Now it is time to make your Sweet Thai Chili Sauce. In a medium sized bowl combine the mayonnaise with the red Thai chili sauce and chives.
The shrimp will grill about 6-8 minutes a side until the have curled, are pink and opaque with some grill marks. The vegetables will take about 10 minutes each side. As everything grills you can brush the sauce on top. Make sure to keep some sauce aside to brush on to both the shrimp and the vegetables right before you eat. To make this into a complete meal serve the skewers on top of some jasmine rice and top with more fresh chives.
Enjoy!!

Monday, June 9, 2014

Pepper Steak with Rice Noodles

It's time for another round of Secret Recipe Club and this month we were assigned Adventures in all things Food. Andrea actually had us a few months ago and made my mom's Blueberry Pie Bars so it's great we can blog one of her recipes in return. She's very creative and has lot of different posts making food using fresh ingredients her family grows on their farm. She also reviews new products from frozen Mexican entrees and granola bars to dog biscuits and sippy cups. After looking through many interesting and delicious looking posts I decided to try her version of Beef & Peppers over Rice Noodles. This recipe makes a lot of food, definitely enough for a family of 4 or 5 because John and I had left overs of this for lunch two days in a row.

Ingredients:
1 lb Rice Noodles
1 1/2 lbs Beef Round Strips
1 Bunch of Green Onions - Diced
5-6 small Sweet Red & Yellow Peppers - Sliced
8 oz Brown Mushrooms - Sliced
1 Cup Lite Soy Sauce
3 Tbsp Rice Wine Vinegar
4 Tbsp Brown Sugar
2 Tbsp Ginger - Minced
3 Garlic Cloves - Minced
1 Lime - Juiced
4 Tbsp Corn Starch
2 Tsp Thai Red Curry Paste
2 Tbsp Canola Oil
Couple of Dashes of Sesame Oil

Start by making the marinade for the meat in a large bowl by whisking together the soy sauce, brown sugar, ginger, garlic, lime juice, Thai red curry paste and rice wine vinegar. Make a slurry with the corn starch by mixing it with a little water in a separate bowl before adding it to the marinade, this will keep it from clumping up.
Break apart the beef and add all of it to the marinade. Cover the bowl and allow the meat to marinade in the fridge for a few hours.
When it's time to start cooking get your noodles in some hot water and follow the directions on the packaging to soften them. Then prep your vegetables and put your wok or cast iron skillet over medium heat. Add the oil and then saute the peppers and green onions a few minutes. Add your mushrooms, stirring occasionally until the vegetables are tender but still crisp. Set them aside.
Add a tiny more oil and then add the beef and brown it for a few minutes on each side.  When it is partially cooked add back in all the vegetables.
Pour the sauce into the wok and add the noodles along with a little bit of the water they soaked in. Using your tongs toss the noodles into the sauce until they are completely coated and the vegetables and beef have spread throughout them. Allow the sauce to thicken until it bubbles stirring constantly so it doesn't stick and burn.
Drizzle some sesame oil over of the wok and top it with some more green onions. Portion into bowls and serve immediately. If you have left overs and you are going to reheat this meal in the microwave, I suggest adding a little bit of water to reconstitute the sauce.
Enjoy!!


Linked at: http://www.thecountrycook.net/


Monday, August 12, 2013

Crab Rangoon Stuffed Mushrooms


This month for Secret Recipe club we were assigned Morsels of Life. CJ has tons and tons of recipes to pick from but this month I decided to let my husband choose what I made. He sifted through the archives and chose her Crab Rangoon appetizer. John suggested I think outside of the box instead of simply just recreating what she made. So I took the challenge and used her recipe as inspiration to come up with these Crab Rangoon Stuffed Mushrooms. My two favorite parts of Crab Rangoon when we order it as take-out are the crunchy wonton and the sweet and sour sauce you dip it to so to include those two aspects I smeared Thai Chili Sauce on the plate to nestle the mushrooms on top and garnished them with crispy Asian noodles. This gives the stuffed mushrooms both a crunch and a little spicy kick.

Ingredients:
3 8 oz Containers of Whole Large Mushrooms
8 oz Reduced Fat Cream Cheese - Softened
1 Tbsp Reduced Fat Sour Cream
2 Tsp Worcestershire Sauce
1 Tsp Fresh Lemon Juice
16 oz Cooked Crab Claw Meat
2 Scallions - Thinly Sliced
Thai Chili Sauce (Optional garnish)
Fried Wonton Noodles (Optional garnish)

Makes about 24 depending on mushroom size

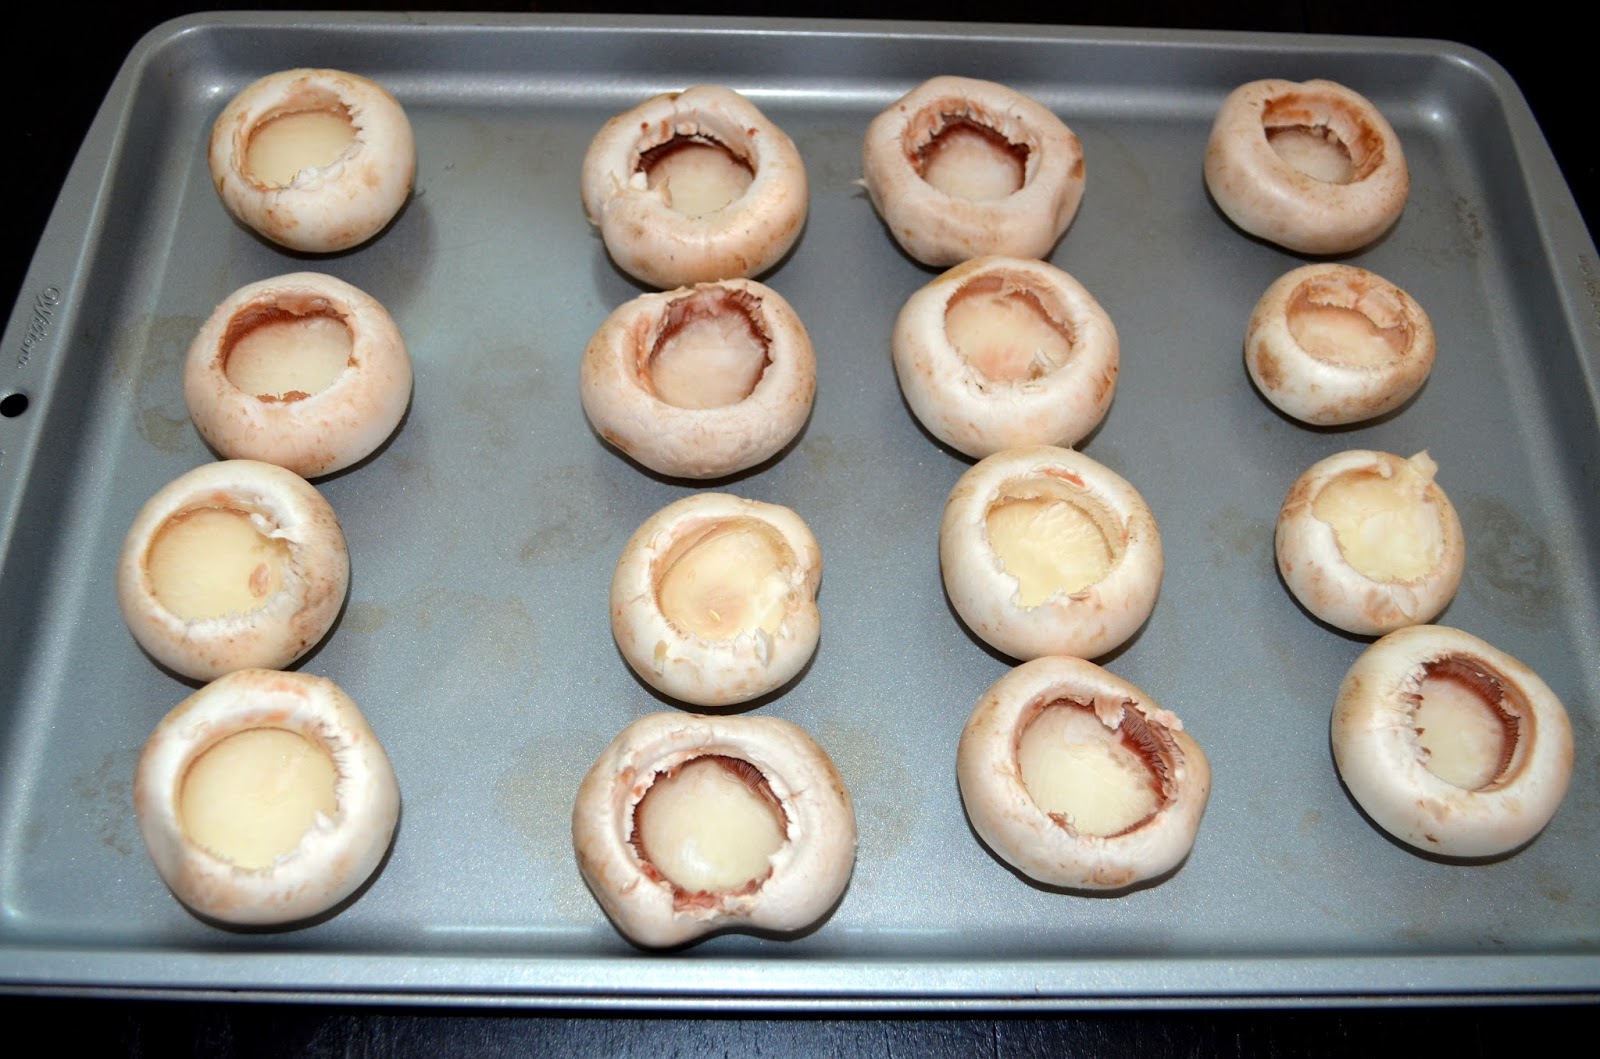
Preheat the oven to 350 F. Wash and scoop all of the stems out of the mushrooms and some of the gills using a melon baller to make plenty of room in the cap for all the crab rangoon filling. Arrange the empty mushroom caps on an ungreased baking sheet.
Rinse and drain the crab, I bought claw meat because I figured it would already be chopped up and I was trying to save a little money since Jumbo Lump is quite expensive these days plus I wanted to stay away from the cheap process fake crab they use in California rolls. Make sure there are no small sharp pieces of shell and break apart and pieces that are on the larger size. Add in the Worcestershire sauce and lemon juice tossing to coat.
Next gently mix in the softened cream cheese and sour cream until you feel that everything is creamy and completely combined. Lastly mix in the green onions.
Using the melon baller scoop the filling into the prepared mushroom tops, I tried to push down the 1st scoop so I could put a 2nd on top and get as much as possible in each one. Bake for 20 minutes or until the mushrooms are soft and browned and the top of the filling has golden and slightly crisp top.
Put a smear of Thai Chili sauce on the bottom of the dish you will be serving these on or you could use it as a dipping sauce instead. Top each mushroom with 1-2 fried wonton noodles.

Enjoy!!  


Friday, April 19, 2013

Slow Cooker Cashew Chicken

 Chinese food is a must at our house at least once a week but as everyone knows a take out food habit can get both pricey and unhealthy. When you make it at home you can control what you put into it and it's much cheaper. There are lots of recipes out there that try to mimic the real thing but not all of them actually get it right. This my 2nd take out - fake out recipe for the slow cooker and it was surprisingly delicious and easy to get prepare.

Ingredients:
About 2 lbs Boneless, Skinless Chicken Thighs
1/2 Cup Flour
1/4 Tsp Pepper
1 Tbsp Canola Oil
1/2 Cup Soy Sauce
4 Tbsp Rice Wine Vinegar
4 Tbsp Ketchup
2 Tbsp Brown Sugar
2 Tbsp Garlic - Mined
1 Tsp Fresh Ginger - Minced
1/2 Tsp Red Pepper Flakes
3/4 Cup Dry Roasted Cashews - Salted
2 Cups Jasmine or White Rice 


Start by making the sauce, I doubled the original recipe because I knew we would like to pour some over top of the dish when it was time to eat. Also I realized as I got everything together I didn't have Rice Wine Vinegar but I did have rice cooking wine and white vinegar so I did 2 Tbsp of each instead.
Whisk together the soy, rice wine vinegar, ketchup, brown sugar and red pepper flakes. Then add in your minced garlic and ginger. Set aside.
In a shallow dish combine the flour with the pepper and dredge both sides of the chicken thighs. Pour the oil into a large skillet over medium heat. When the pan is hot add your chicken thighs. When the thighs are filleted they end up being quite big so you may need to do this in two different batches.
 Brown both batches of the chicken thighs for about 2-3 minutes each side so they are light golden color. When they are finished transfer them over to the bottom of the slow cooker. 
Give the sauce a good stir and then pour it on top of the chicken. If you keep the sauce recipe doubled like I did you should have enough sauce to cover most of the chicken. If the top pieces are exposed take some tongs and rotate the pieces around so that every thigh has a chance to be in the sauce.
Cook on low 4-5 hours. During the last 30 minutes of cooking time add your cashews and give the pot a few good stirs. This is also the time to make your rice and vegetable sides if you are having them with the chicken. Spoon rice into bowls, top with a piece of chicken and then ladle the sauce and cashews over top.
Enjoy!!


Linked at: http://www.thecountrycook.net/, http://www.notyourordinaryrecipes.com/, http://mylifeasrobinswife.com/, http://www.whatscookingwithruthie.com/, http://www.cheeriosandlattes.com/,  
ww.ducksnarow.com/, http://www.hungrylittlegirl.com/, http://djssugarshack.com/, http://www.momstestkitchen.com/, http://www.ladybehindthecurtain.com, http://www.semihomemademom.com/, http://www.bunsinmyoven.com/, http://www.housewivesofriverton.com, http://www.mandatorymooch.blogspot.com/, http://www.thebusybhive.blogspot.com/, http://www.momontimeout.com/, http://www.mizhelenscountrycottage.blogspot.com/, http://www.tasteandtellblog.com, http://www.michellestastycreations.com/, http://www.foodiefriendsfriday.com/, http://www.callmepmc.com/,
 http://www.flourmewithlove.com/, http://www.ishouldbemoppingthefloor.com/, http://insidebrucrewlife.com/,
http://www.nap-timecreations.com, http://www.mandysrecipebox.blogspot.com/, http://www.chef-in-training.com/

Wednesday, January 9, 2013

Slow Cooker Beef and Broccoli

This is one of those Take-Out, Fake-Out recipes that I have to say is pretty darn close to the real thing. My husband John loves Chinese food and will order it whenever possible so I made this with him in mind. I was skeptical at first because usually my attempts at homemade Chinese food are good but never quite taste or turn out the same as if we got it delivered but I was pleasantly surprised by this one. Next time you want to pick up the phone and give your local take out restaurant a call, try this recipe instead it will save you money and calories.

Ingredients:
1 lb Beef Chuck Roast Cubes - Sliced into Strips
1 Cup Low Sodium Beef Broth
1/2 Cup Low Sodium Soy Sauce
1/3 Cup Brown Sugar
1 Tbsp Sesame Oil
3 Garlic Cloves - Minced
2 Tbsp Corn Starch
3 Cups Fresh Broccoli Florets
Sesame Seeds for Garnish if Desired
Cooked Rice (White, Jasmine or Brown)

Adapted from: http://www.tablefortwoblog.com

In a medium sized bowl whisk together the beef broth, soy sauce, sesame oil, brown sugar and garlic.
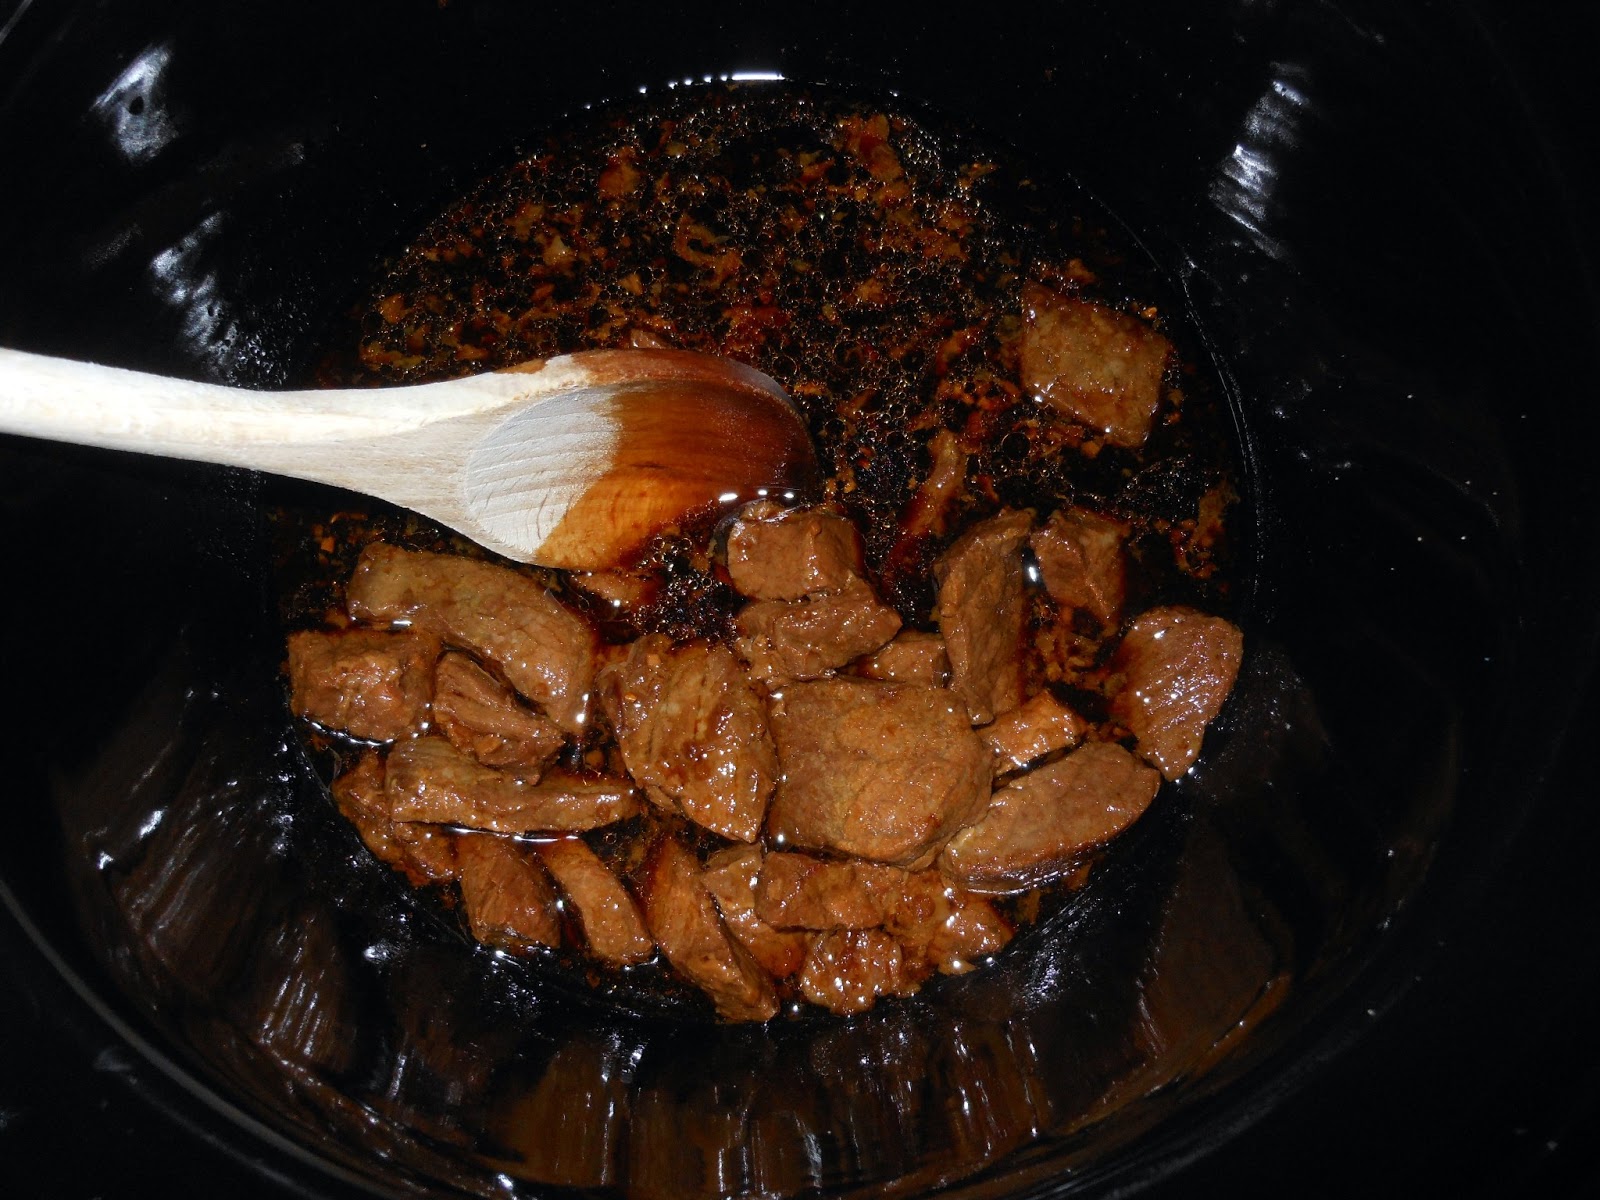
Place your beef slices in the sauce and toss to coat. Pour the entire bowl into the slow cooker and turn it on low, cover and cook for 4 hours and 30 minutes. The last 30 minutes of cooking you will be adding the broccoli and the corn starch to thicken up the sauce. You want to be careful not to over cook the meat because then it will begin to shred.
When the beef has cooked for 4 hours take a few Tbsp of the sauce from the slow cooker in place them in a small bowl. Whisk the corn starch into the sauce. Pour the mixture into the slow cooker and stir to combine.
Toss the broccoli into the slow cooker on top of the beef, give it a few good stirs so the broccoli has some of the sauce on it. Cover and cook an additional 30 minutes. While you are waiting for the broccoli to cook and the sauce to thicken you can prepare your rice.
Spoon your choice of rice into bowls or recycled take out containers, ladle beef and broccoli with some additional sauce on top of the rice and sprinkle with sesame seeds. 

Enjoy!! - Nicole

Linked at: http://www.ladybehindthecurtain.com/, http://djssugarshack.com/, http://thenymelrosefamily.com/, http://www.hungrylittlegirl.com, http://housewivesofriverton.blogspot.com/, http://mizhelenscountrycottage.blogspot.com/, http://www.momontimeout.com/, http://www.mandatorymooch.blogspot.com/, http://www.michellestastycreations.com/, http://www.notyourordinaryrecipes.com/, http://www.foodiefriendsfriday.com/, http://www.thecountrycook.net/, http://www.sixsistersstuff.com/, http://swtboutique.com/, http://www.ishouldbemoppingthefloor.com/, http://www.pandpkitchen.com/, http://iamaddictedtorecipes.blogspot.ca, http://www.flourmewithlove.com/, http://www.mandysrecipebox.blogspot.com/, http://www.nap-timecreations.com/, http://insidebrucrewlife.com/, http://www.chef-in-training.com/, http://www.foodiefriendsfriday.com/, http://www.callmepmc.com/
Related Posts Plugin for WordPress, Blogger...