Showing posts with label Easter. Show all posts

Saturday, April 18, 2015

Lemon Sugar Cookie Tart


It was almost 80 degrees today and sunny!  We have been waiting for this for so long in New Jersey. Everything is finally budding and sprouting and turning green.  The birds are chirping. People are jogging or walking their dogs and I heard the ice cream truck this afternoon.  

The sugar cookie tart is a nice change from the traditional pie crust for this spring time dessert.  This recipe is adapted from Inquiring Chef who made little tarts in mini muffin cups.  We had for this our Easter dessert.  

Ingredients:

12 tablespoons (1-1/2 sticks) unsalted butter, softened
3/4 cup granulated sugar
2 eggs
2-1/4 cups all purpose flour
1/4 tsp baking powder

4 eggs
6 egg yolks
1/2 cup whipping cream
juice from 2 large lemons
1/2 cup granulated sugar

1/2 cup whipping cream
2 tbsp powdered sugar
1/4 tsp vanilla
15 raspberries for garnish

Directions:

For crust - In a standing mixer, beat butter and sugar until light and fluffy.  Add egg and mix on medium
until mixed fully.  Add flour and baking powder and mix on medium until no flour remains but do not overmix.  Wrap dough in parchment paper and refrigerate for at least 30 minutes.


Preheat oven to 350 degrees.  Lightly spray a tart pan with PAM.  While oven is preheating make the lemon filling by whisking together the eggs, egg yolks, whipping cream, lemon juice and granulated sugar until smooth.


Remove the cookie dough from the refrigerator and spread evenly in prepared tart pan.  Use your hands or the back of a spoon to press the dough evenly over the entire pan.  


Pour the lemon filling into the tart pan.


Bake until the filling is set and the crust begins to turn golden brown about 30 minutes.  Allow to cool completely to room temperature and then refrigerate until ready to serve.  Before serving beat the remaining whipping cream with the powdered sugar until stiff peaks form.  Pipe around edges of tart and put a raspberry on top of each dollop of cream.


Serve chilled.


Enjoy!!

Linked at: http://www.thecountrycook.net/

Thursday, April 17, 2014

Chocolate Coconut Birds Nests

These chocolate coconut birds nests are a quick and easy Easter treat to make with your kids or put out after Easter dinner. If you like a traditional macaroon cookie you can leave them plain as well, either way I am a huge fan of Easter candy so I love any opportunity to use Cadbury mini eggs!! 

 I couldn't resist sharing Owen & Madelyn's 1st Easter Bunny picture with all of you!! 
Since Easter is on Sunday and Passover has been these last few days we wanted to take a moment and wish all of our followers a Happy Spring Holiday season. I know we are excited for Easter here in this house! We attempted to dye eggs with Owen for the first time today and we will be taking him to his first Easter Egg Hunt on Saturday. I love now that he's a little older we can really start some family traditions that he'll hopefully enjoy in the years to come.

Ingredients:
4 Egg Whites
1/2 Cup Sugar
1/2 Tsp Vanilla
1/4 Tsp Salt
14oz Package of Shredded Sweetened Coconut
1 Tbsp Cocoa Powder
Small Bag of Cadbury Mini Eggs

Adapted from: allrecpies.com

Start by preheating your oven to 325 F. In the stand mixer bowl whisk the egg whites with the vanilla, sugar and salt for a few minutes on a medium-high speed until the mixture if foamy and glossy.
Gently fold in the shredded coconut flakes. I made half the batch regular and half chocolate so I didn't add the cocoa powder till I made a few plain nests first. If I was making the whole batch chocolate I would've thrown the cocoa powder in with the egg white mixture in the beginning.
Drop the mounds of coconut on the baking tray about 2 inches a part. You can use a large spoon or a small ice cream scoop for this, make sure they are tightly pushed together and then make a small indent to place the eggs into. Bake 20 minutes, rotating the pan half way through until they look to be slightly browned and crispy on the outside. Allow them to cool for about 5 minutes on the tray then transfer them to a baking rack. Store in the fridge for 5 days or on the counter for 3.
Enjoy!!


Linked at: http://www.thecountrycook.net/

Wednesday, April 9, 2014

Giant M & M Easter Cookie


I got the call everyone wants to get from their accountant today.  We are getting money back!  Hooray!!  Now the big question is do we save it or spend it?  I am sure my husband and I will have very different ideas. I made this dessert to celebrate our good news and to get me in the mood for Easter which will be here very soon. My husband is a big Peep fan so he was happy to see this sitting on the kitchen counter when he came home from work.  

Ingredients:
2 sticks unsalted butter, softened
3/4 cup sugar
1 cup brown sugar
2 eggs
1-1/2 tsp vanilla
2-1/4 cups all purpose flour
1 tsp baking soda
1/2 tsp baking powder
1/2 tsp salt
1/2 cup semi sweet chocolate chips
12 oz. bag of m and m's
10 peeps in color of your choice
5 tsp fluff marshmallow spread

Directions:
Spray circular baking pan with PAM.  A pizza pan is perfect.  Set aside.  Preheat oven to 375 degrees. Add flour, baking soda, baking powder and salt to a bowl and set aside.  To a mixing bowl add the butter, and sugar and brown sugar and blend until combined.  Add the eggs and vanilla and mix.  Add the flour mixture and mix again until everything is combined.


Add in the chocolate chips and M and M's.  Mix together with a spoon or spatula.


Spoon into prepared pan and spread out dough so whole pan is covered and smooth and evenly distributed.


Bake for 20-25 minutes until cookie starts to brown.  Let cookie cool.  Apply Peeps to cookie all around the edge by putting a little bit of fluff marshmallow spread on the bottom of each Peep so it will stick to the cookie.


Enjoy!!

Friday, March 29, 2013

Cadbury Cream Cookie Cups

Easter Candy is my absolute favorite. I wait all year long for it to come out into the stores and since I was pregnant the last couple of months I allowed myself to enjoy in one too many bags of Cadbury Mini Eggs. These cookie cups are filled with a sweet cream to replicate the Cadbury Cream Eggs that are ooey and gooey and a annual Easter treat. I made these cookies a few weeks ago in anticipation of Owen's arrival. Since it's Good Friday and Easter is two days away if you are looking for a quick and fun treat to make this weekend with your kids these could be for you since most of the ingredients you'll already have in your house from normal baking. 

We hope you all have a very Happy Easter!!

Ingredients for Cookie Cups:
2 1/4 Cup Flour
1 Tsp Baking Soda
1 Tsp Salt
1 Cup I Can't Believe it's not Butter - Softened
3/4 Cup Sugar
3/4 Cup Brown Sugar - Packed
1 Tsp Vanilla Extract
2 Eggs
12 oz Package Mini Semi-Sweet Chocolate Morsels
Pam Spray

Classic Nestle Toll House Chocolate Chip Cookie Recipe

Ingredients for Cadbury Cream:
1/2 Cup Light Corn Syrup
1/2 Cup I Can't Believe it's not Butter - Softened
1 Tsp Vanilla Extract
3 Cups Powdered Sugar
Yellow Food Coloring

Adapted from: http://www.inkatrinaskitchen.com/

Preheat your oven to 375 F. Make your chocolate chip cookie dough by following the recipe on the Nestle Toll House Mini Chocolate Morsels package. I feel like most women at this point in life can make these cookies with their eyes closed from memory.
Instead of making the dough into cookies and baking them on a sheet or in a pan for bars we are going to make them into cups. Spray the mini muffin tray with Pam and spoon cookie dough into each muffin tin. Bake for 13-15 minutes until golden brown.
When they are done baking remove them from the oven. Let the cookie cups cool for about 5 minutes and when they are still warm using your finger collapse in the middle of the cup. They will most likely be partially sunken in already, you're just making the opening a little wider. Then gently twist them out of the muffin tins, allow them to fully cool on a baking rack.
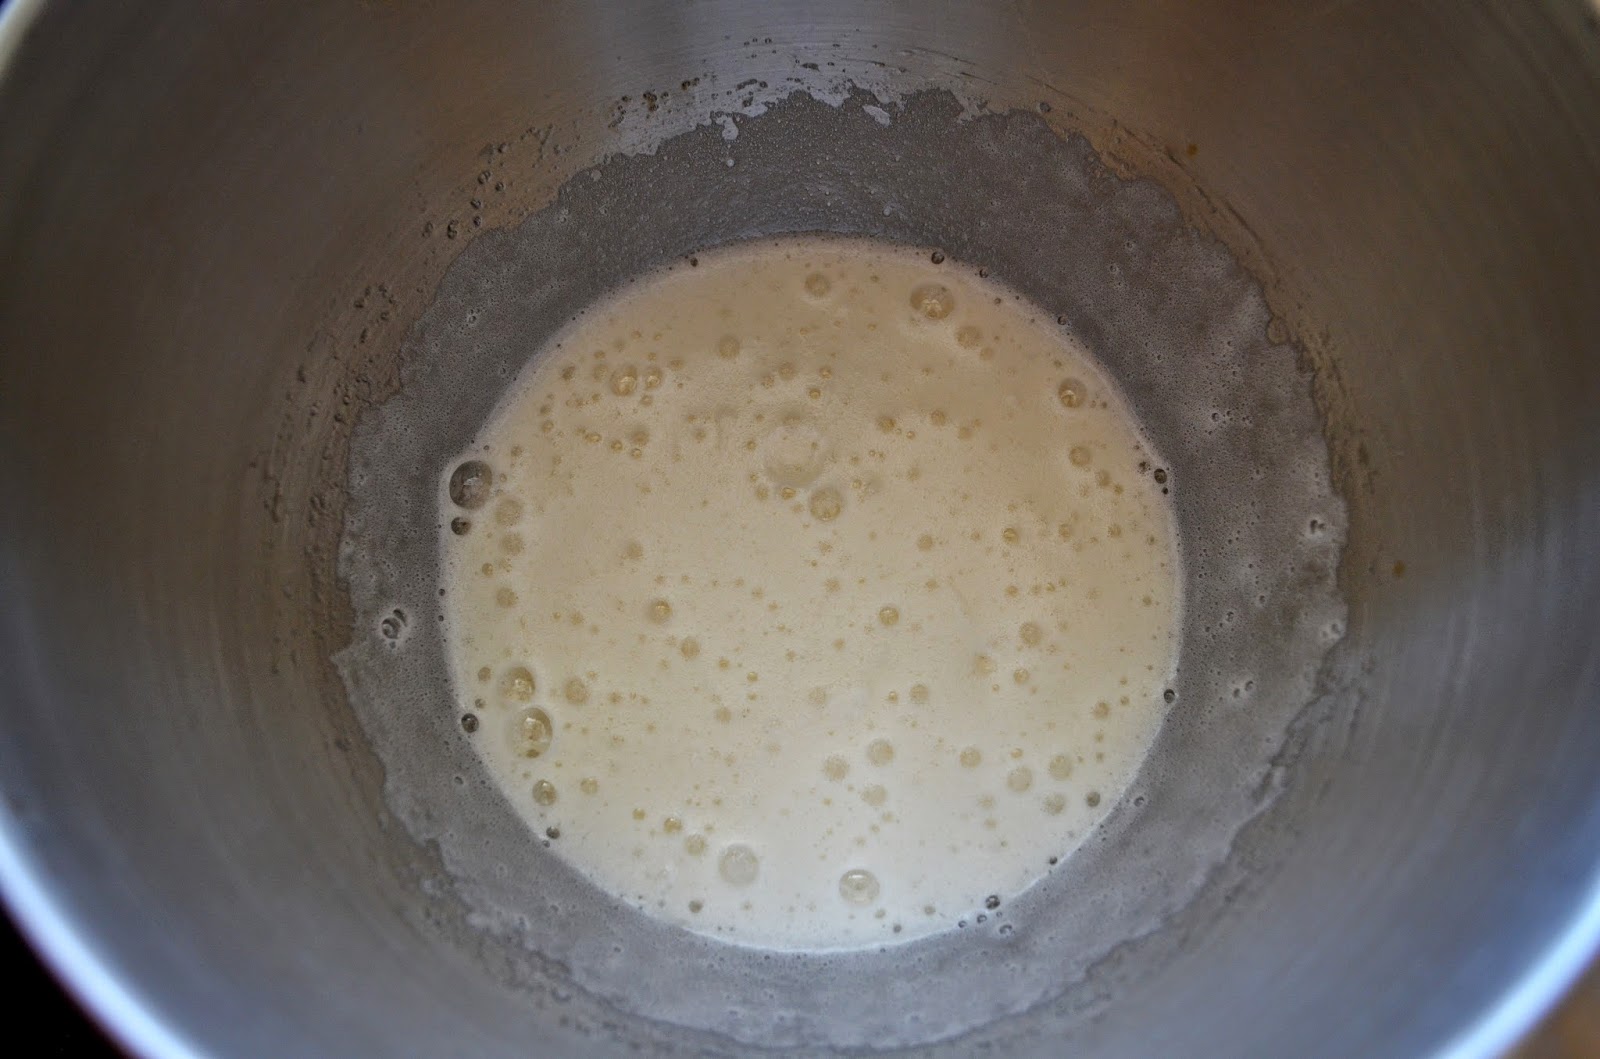
In your stand mixers bowl combine the butter, corn syrup and vanilla extract until smooth. Slowly add the powdered sugar in three different additions. Remove about a 1/3 of a cup of the cream and add a few drops of yellow food coloring to make the "yolk".
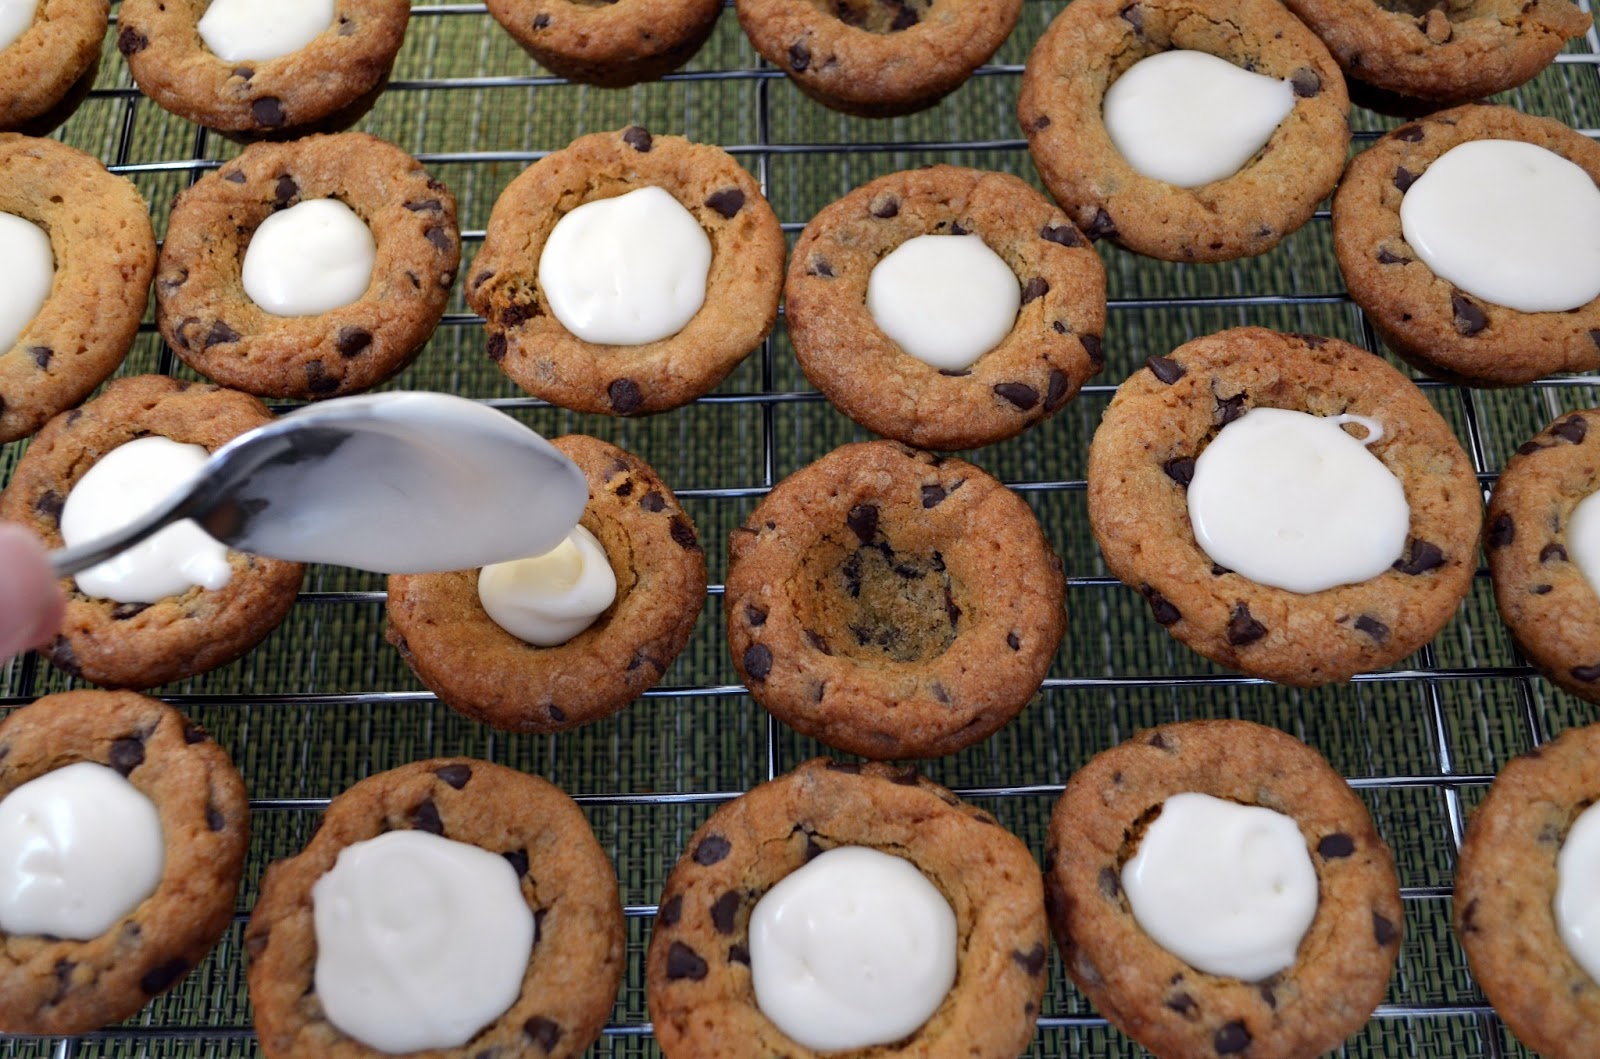
Spoon the white cream into the cups until it just about fills up the opening. When all the cups are filled with white cream drop in a little bit of the yellow in the middle of the white to create the egg look. Store at room temperature so the cream remains soft and gooey.
Enjoy!!


Linked at: http://www.thecountrycook.net/, http://www.notyourordinaryrecipes.com, http://www.sixsistersstuff.com/, http://www.cheeriosandlattes.com/, http://www.lifewiththecrustcutoff.com/, http://www.whatscookingwithruthie.com/, http://iamaddictedtorecipes.blogspot.ca, http://www.sweet2eatbaking.com/, http://www.ishouldbemoppingthefloor.com, http://www.flourmewithlove.com/, http://www.sweetsav.blogspot.com/, http://insidebrucrewlife.com, http://www.mandysrecipebox.blogspot.com, http://www.chef-in-training.com/, http://www.nap-timecreations.com/, http://thenymelrosefamily.comhttp://www.ladybehindthecurtain.com/http://www.hungrylittlegirl.comhttp://www.housewivesofriverton.com/http://www.momstestkitchen.com/http://djssugarshack.comhttp://www.bunsinmyoven.comhttp://www.semihomemademom.com/http://www.momontimeout.com/http://thebusybhive.blogspot.com/http://www.mizhelenscountrycottage.blogspot.com/http://www.mandatorymooch.blogspot.com/

Tuesday, March 26, 2013

Mini Carrot Cakes


We are back on a limited basis for a few weeks while Nicole gets used to taking care of a precious adorable newborn baby and I will going to Europe the end of this week.  We are finally going to visit Samantha who has been in Ireland since New Years Day!  I can't wait to see her. We have a great trip to England and France planned.  But I will be missing my cute little grandson the whole time.

This would be an easy dessert to bring to your Easter or Mother's Day Dinner this year.  It is adapted from the Lady Behind the Curtain.  It makes enough for 12 people. 

Ingredients:
3-1/2 cups all purpose flour
3-1/2 tsp baking powder
2 tsp ground cinnamon
1 tsp ground nutmeg
1 tsp baking soda
1 tsp salt
4 jars (4 ounces each) baby food carrots
1-1/3 cup grated fresh carrots
1-1/2 cup orange juice
1 cup sugar
1/2 cup canola oil
2 large eggs
2 tsp vanilla extract

Frosting:
16 ounces cream cheese, softened
1/2 cup butter, softened
2 tsp vanilla extract
3 cups confectioners sugar
orange and green food coloring

Directions:
Heat oven to 375.  Line two 13 x 9 baking pans with foil.  Coat with cooking spray.  Whisk flour, baking powder, cinnamon, nutmeg, baking soda and salt.


  In another bowl, whisk baby food, fresh carrots, orange juice, sugar, oil, egg and vanilla.


Stir wet ingredients into dry ingredients until blended.


Spread into prepared pans.  Bake 20 minutes or until wooden toothpick inserted into center comes out clean.   Cool in pan on wire rack for 10 minutes.  Using foil, life cake from pan and cool completely on wire rack.  When cool cut out 24 rounds from cake with a 2-1/2" round biscuit cutter.  


Make cream cheese frosting by beating together the cream cheese, butter and vanilla until creamy.  Beat in confectioners sugar until fluffy.    Take 3/4 cup frosting in a cup and tint with orange food coloring.  Take 1/2 cup frosting in a cup and tint with green food coloring.  Set both aside.

On one half of a cake round, spread 1 tbsp frosting.  Top with remaining cake round.  Frost that top with a heaping tablespoon of frosting.  Continue with the rest of the cake rounds in the same manner.  Place orange and green tinted frosting in separate zip lock bags.  Snip off end tip from each bag.  Pipe orange carrots in a zig zag pattern starting with a large zig zag and ending with a point on top of each two tiered cake round.
Add green tops on the carrots.


Enjoy!!


Linked at: http://thenymelrosefamily.com/, http://www.ladybehindthecurtain.com, http://www.momstestkitchen.com/, http://www.hungrylittlegirl.com/, http://djssugarshack.com, http://www.housewivesofriverton.com/, http://www.semihomemademom.com/, http://www.bunsinmyoven.com/, http://www.gooseberrypatch.typepad.com/, http://www.momontimeout.com/, http://www.michellestastycreations.com/, http://www.mizhelenscountrycottage.blogspot.com/, http://www.mandatorymooch.blogspot.com/, http://www.thebusybhive.blogspot.com/, http://www.thecountrycook.net, http://www.notyourordinaryrecipes.com/, http://www.sixsistersstuff.com/, http://www.lifewiththecrustcutoff.com/, http://www.cheeriosandlattes.com/, http://www.whatscookingwithruthie.com/, http://www.sweet2eatbaking.com/, http://iamaddictedtorecipes.blogspot.ca, http://www.ishouldbemoppingthefloor.com, http://www.flourmewithlove.com/, http://www.sweetsav.blogspot.com/, http://www.nap-timecreations.com/, http://www.chef-in-training.com/, http://www.mandysrecipebox.blogspot.com, http://insidebrucrewlife.com

Sunday, April 8, 2012

Chocolate Peanut Butter Eggs & Bunnies


Happy Easter!!  We are having an Easter breakfast this morning with all the family.  These will be for after breakfast if we are good.  This recipe is from www.tasteofhome.com.  


Ingredients:
1/2 cup butter softened
2-1/3 cups confectioners sugar
1 cup graham crackers crumbs
3/4 cup creamy peanut butter
1/2 tsp vanilla extract
1 tbsp half and half or milk
12 oz. semi sweet chocolate chips
1 tbsp vegetable oil
sprinkles

Directions:
In a large bowl cream butter.  Gradually add the confectioners sugar, graham cracker crumbs, peanut butter and vanilla.  Add half and half or milk if necessary to get mixture to right consistency.  Shape into small eggs.  Place on waved paper baking sheets.  I used molds I had but you can shape into egg shape with your hands.  Refrigerate for 30 minutes or until firm.


In a microwave melt the chocolate chips and oil slowly and on a low temperature and stir until smooth.  Dip eggs in chocolate.  Allow excess to drip off.  Decorate with sprinkles while still warm.  Return eggs to wax paper.  Chill until set. Store in refrigerator.


Enjoy!!  Susan

Linked at: http://whipperberry.com/

Wednesday, April 4, 2012

Bunny Lofthouse Cookie Bars


I wanted to send something to Sam for Easter and also had wanted to make the Lofthouse Cookie Bars. This seemed like a perfect time to make the bars into bunnies. I have never had a Lofthouse cookie before so I have nothing to compare it to but these were very good.  This comes together very quickly and icing the individual bunnies took the longest.  Just making the bars would be much quicker.  This recipe is from http://cookiesandcups.com.  The frosting is your basic vanilla butter cream recipe.

Ingredients:
Bars
1-1/2 cups sugar
1 cup (2 sticks) butter at room temperature
8 oz cream cheese, room temperature
2 tsp vanilla extract
2-1/2 cups flour
1 tsp baking powder
1/2 tsp baking soda

Frosting
1/2 cup (1 stick) butter at room temperature
3 cups confections sugar
1 tsp vanilla extract
1-2 tbsp 1/2 and 1/2 or heavy cream

Directions:
Preheat the oven to 350 degrees. Spray a jelly roll pan (15 x 10 x 1) with cooking spray.  In a mixer cream butter, cream cheese and sugar together.  Add egg and vanilla and mix until incorporated. With the mixer on low, add in your dry ingredients: flour, baking powder and baking soda.  Mix until just combined.


Press dough evenly into your prepared pan.  Dough will be very sticky.


Bake for 20 minutes until edges begin to golden.  Cool completely before frosting.

To make frosting add butter, confectioners sugar and vanilla in bowl.  Mix together adding 1/2 and 1/2 by the tbsp one at a time until you have reach desired consistency.  I added 1 drop of pink food coloring for the bunnies.

You can leave the bar as is and frost and cut into servings or I took a bunny cookie cutter and made individual bunnies and then frosted individually.  Sprinkle if desired.


Enjoy!!   Susan

This is linked to www.mrsfoxssweets.blogspot.comwww.ladybehindthecurtain.comwww.insidebrucrewlife.blogspot.comwww.sugaranddots.comwww.oopseydaisyblog.com,
www.mizhelenscountrycottage.blogspot.comwww.domesblissitywww.housewivesofriverton,
www.ourbestbites.comwww.sixsistersstuff.com, http://whipperberry.com/

Related Posts Plugin for WordPress, Blogger...