Showing posts with label Seafood. Show all posts

Thursday, May 21, 2015

Lemon & Dill Grilled Salmon

Every week I walk by the Seafood department and see beautiful pink pieces of Salmon. I love almost all seafood but Salmon has never been my favorite so I've never prepared it at home even though John loves it. I decided to take on the challenge and give it a try this week.  I love the combination of lemon and dill on seafood so I made a simple sauce and put it on the grill with some asparagus. It was easy and quick to make plus it tasted amazing, John told me he thought I could serve it in a restaurant and even Owen ate a few bites of it!! The salmon was moist and the sauce was buttery this recipe definitely swayed my thought on Salmon and we will be having it again sometime soon. 


Ingredients:
About 1lb Fresh Wild King Alaskan Salmon
2 Tbsp Fresh Squeezed Lemon Juice
2 Tbsp Olive Oil
1 Tbsp Margarine
1 Tsp Dried Dill
1 Tsp Dried Basil
1 Tbsp Honey Dijon Mustard
1 Tsp Salt
4 Cloves Garlic - Minced
2 Dashes Cayenne Pepper

Adapted from: http://www.inspired2cook.com/

In a small pot combine all of the ingredients for the sauce. Mix everything together stirring occasionally over medium heat. Bring to a boil and reduce heat, allow it to simmer for about 5 minutes.

Using heavy duty tin foil place the salmon skin side down in the middle of  a large piece. Fold all four sides up creating a little boat for the fish. 

When the sauce is done slowly pour it over the top trying to keep most of it on the fish. Some of the oil will slide off into the boat but that's fine. If you need to spread it out evenly over the entire piece of fish with your spatula.


Preheat your outdoor grill to about 400-450 degrees. Place the foil on the grill and close the lid for 10-12 minutes. Conveniently the asparagus take just as long so I chose to grill them at the same time with just some olive oil, salt and pepper, turning them once while they grilled. If you aren't a fan of using a grill or you don't have one you can close the foil packet and bake this recipe in the oven at 350 F for 15-20 minutes.

You'll know the fish is done with it looks opaque, flaky and lighter pink instead of dark pink and shiny. The edges may be slightly crisp from the skin which is fine. Allow it to cool for a few minutes when you get it inside then slice into pieces and serve. Part of the reason I don't usually prefer salmon is the skin and in this preparation it stuck onto the foil so I was pleasantly surprised I didn't have to pick it off my piece.

Enjoy!!


Linked at: http://www.thecountrycook.net/

Monday, July 28, 2014

Sweet Thai Chili Grilled Shrimp & Vegetables

We are huge fans of Red Thai Chili Sauce so when I saw it used in a recipe with grilled shrimp I immediately wanted to give it a whirl. This sauce has the perfect combination of heat and sweet making it one of our favorite condiments. We always have it on top of chicken stir-fry or use it as an Asian dipping sauce, we've even gone as far as putting on top of a Thai Chicken Pizza but since it's summer time I wanted to use it on the grill. I skewered shrimp, vegetables and pineapple, brushed it all with the sauce and put it on top of a bed of jasmine rice for a complete, quick & easy summer meal. 

Ingredients:
8 Wooden Skewers
20-25 Large Shrimp - Defrosted, Cleaned & Tails off
1 Cup Pineapple - Large Chunks
1 Red Pepper - Large Chunks
1 Green Pepper - Large Chunks
1/2 Onion - Large Chunks
4 Tbsp Red Thai Chili Sauce
2 Tbsp Light Mayonnaise
1 Tsp Fresh Chives - Chopped & more for garnish
Pam Spray

Adapted from: http://www.skinnytaste.com/

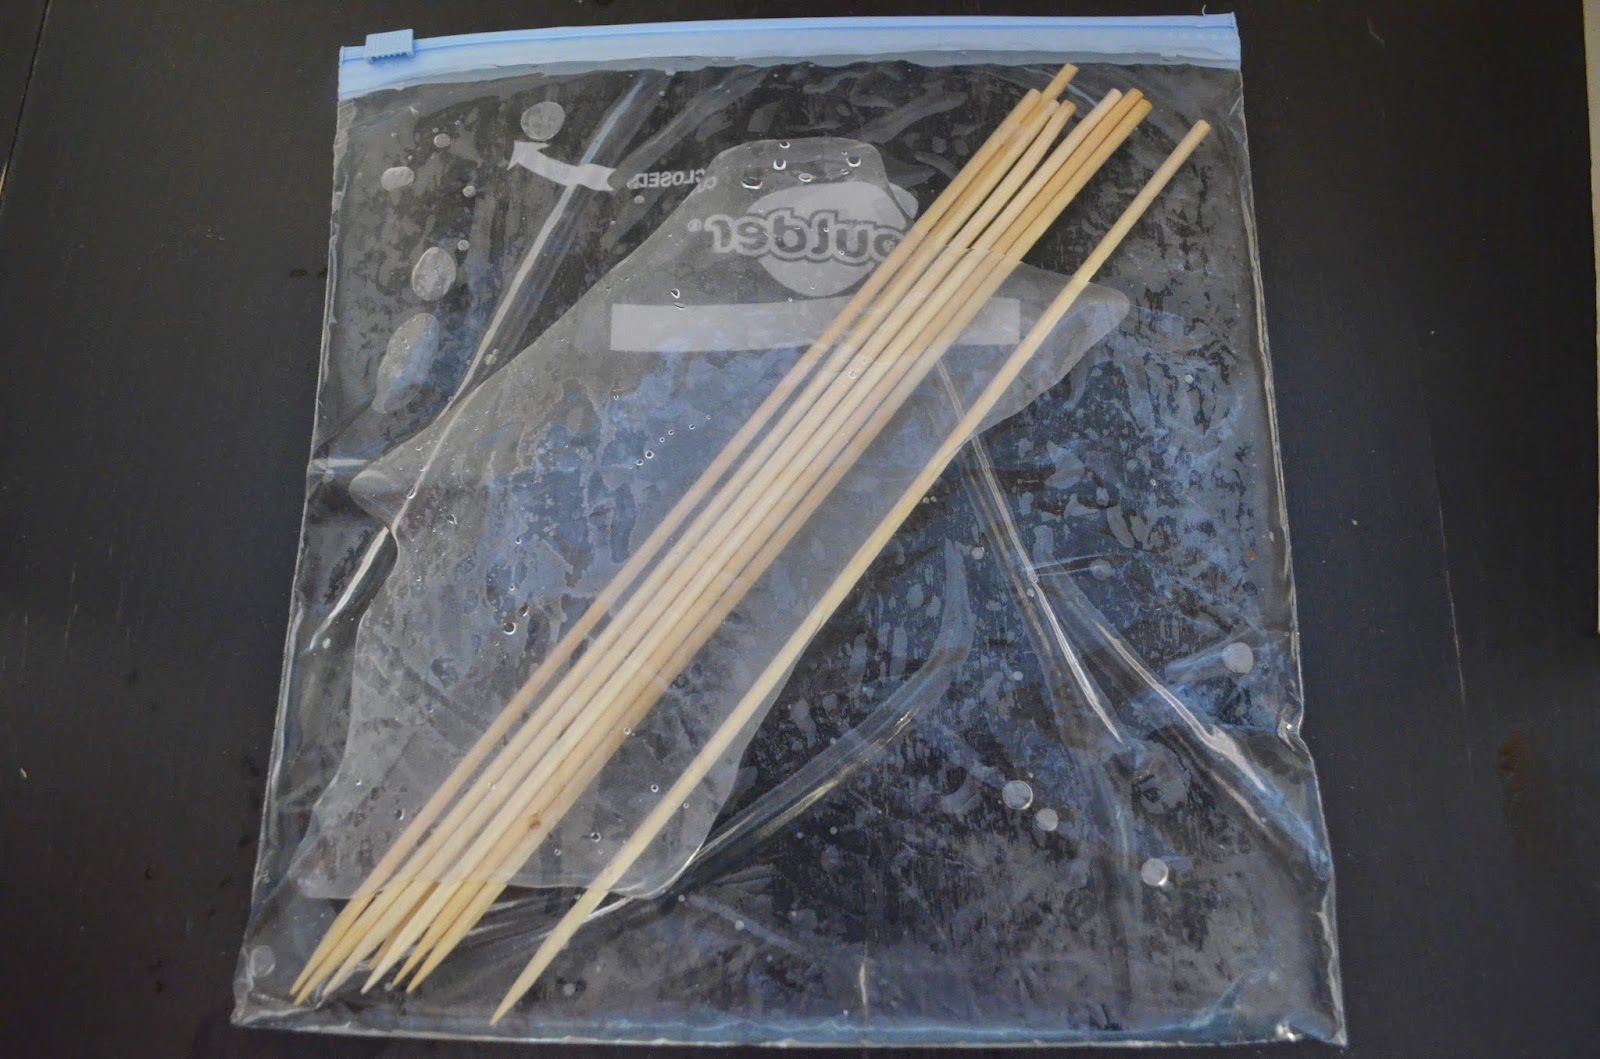
If you are using wooden skewers to grill it's important to soak them in water for about 30 minutes. I could never find a good way to do this until the other day when I decided to put them with the water in a gallon freezer bag. It worked perfectly, so much better than a large bowl with half the skewers sticking out. Obviously if you are using metal skewers this step is obsolete but be careful not to burn yourself as they get hot very quickly. 
While the skewers are soaking you can prep your shrimp and veggies. Although it looks cool to make skewers with both the shrimp and vegetables they have different cooking times so its easier to keep all the shrimp together and then have the vegetables on their own set of skewers. Put 4-5 shrimp on a skewer pushing them into the middle and allowing for room on either side of each shrimp. Place vegetables and fruit on skewers and set both aside.
Make sure your grill has been cleaned, spray it with Pam and preheat it to medium heat. Now it is time to make your Sweet Thai Chili Sauce. In a medium sized bowl combine the mayonnaise with the red Thai chili sauce and chives.
The shrimp will grill about 6-8 minutes a side until the have curled, are pink and opaque with some grill marks. The vegetables will take about 10 minutes each side. As everything grills you can brush the sauce on top. Make sure to keep some sauce aside to brush on to both the shrimp and the vegetables right before you eat. To make this into a complete meal serve the skewers on top of some jasmine rice and top with more fresh chives.
Enjoy!!

Thursday, June 19, 2014

Crab Pretzels


We spent the last four years going to Baltimore at least twice a year to visit our youngest daughter at her school. We loved staying at the Inner Harbor each time we went. One of our favorite appetizers at almost any restaurant we visited was the crab pretzels.  I served these at our Father's Day picnic on Sunday and they were a big hit.  Luckily we have a Philly Soft Pretzel Factory in our town so I didn't even think about making pretzels from scratch.  If you don't have a pretzel factory near you and don't feel like making pretzels I am sure the frozen ones would work just as well. The crab dip recipe was adapted from Sallys Baking Addiction.

Ingredients:
1 8 oz package of softened cream cheese
1/2 cup light mayonnaise
1/4 cup grated parmesan cheese
2 tsp crushed garlic
2 tsp Worcestershire sauce
2 tsp fresh squeezed lemon juice
1 tsp old bay seasoning
1 tsp hot sauce
3/4 lb lump crabmeat, rinsed and drained
1/4 tsp ground pepper
12 soft pretzels, I took most of the salt off
1/2 cup shredded cheddar cheese


Preheat oven to 350.  In a medium bowl using a stand mixer, beat the cream cheese, mayonnaise, grated parmesan cheese, garlic, Worcestershire sauce, lemon juice, hot sauce and Old Bay together until creamy.


Add in the crab meat and mix with a spatula until blended.  Soon the crab mixture into a oven proof bowl and back for 25 minutes.  Remove from oven and allow to cool slightly before spreading on pretzels.
Turn oven up to 425 degrees.  Spread crab on pretzels and sprinkle with cheddar cheese.  I broke my
pretzels in half before spreading the crab so the serving size wouldn't be so big.


Heat in preheated oven for 6-8 minutes until cheese is bubbling.  Remove and sprinkle with a little more Old Bay if desired.  Serve pretzels while still warm.  We reheated them in the toaster oven the next day but they are best eaten the first or second day.


Enjoy!!


Linked at: http://thebetterbaker.blogspot.com/

Monday, August 12, 2013

Crab Rangoon Stuffed Mushrooms


This month for Secret Recipe club we were assigned Morsels of Life. CJ has tons and tons of recipes to pick from but this month I decided to let my husband choose what I made. He sifted through the archives and chose her Crab Rangoon appetizer. John suggested I think outside of the box instead of simply just recreating what she made. So I took the challenge and used her recipe as inspiration to come up with these Crab Rangoon Stuffed Mushrooms. My two favorite parts of Crab Rangoon when we order it as take-out are the crunchy wonton and the sweet and sour sauce you dip it to so to include those two aspects I smeared Thai Chili Sauce on the plate to nestle the mushrooms on top and garnished them with crispy Asian noodles. This gives the stuffed mushrooms both a crunch and a little spicy kick.

Ingredients:
3 8 oz Containers of Whole Large Mushrooms
8 oz Reduced Fat Cream Cheese - Softened
1 Tbsp Reduced Fat Sour Cream
2 Tsp Worcestershire Sauce
1 Tsp Fresh Lemon Juice
16 oz Cooked Crab Claw Meat
2 Scallions - Thinly Sliced
Thai Chili Sauce (Optional garnish)
Fried Wonton Noodles (Optional garnish)

Makes about 24 depending on mushroom size

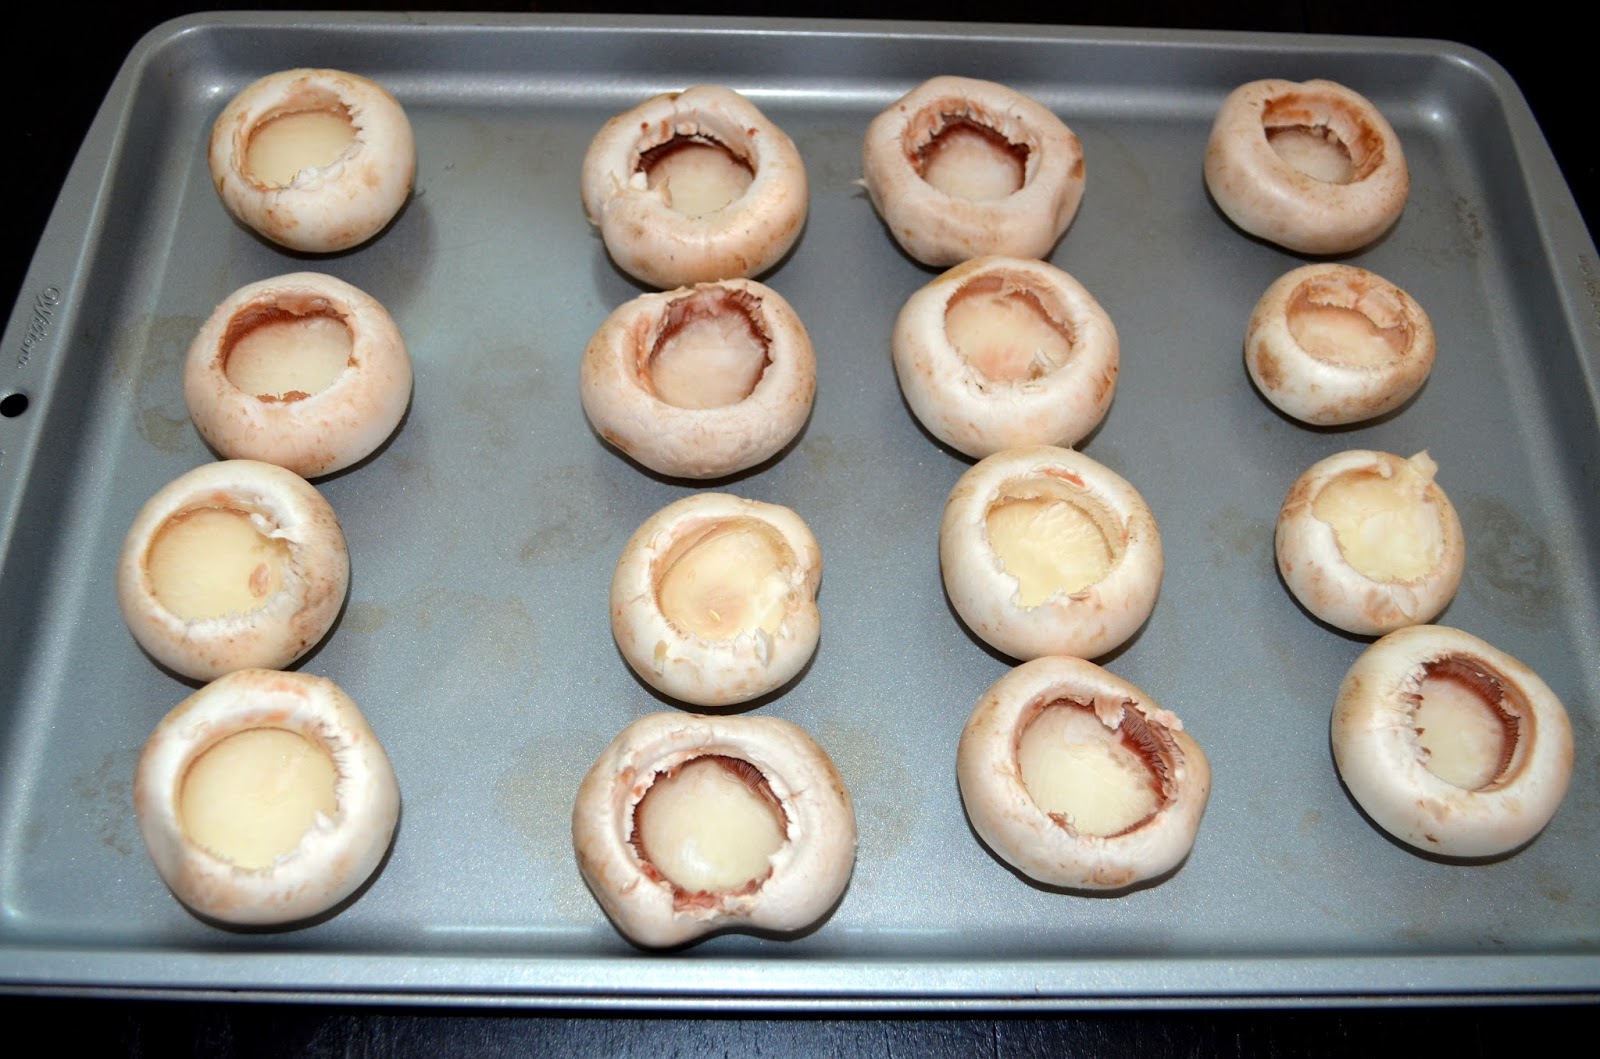
Preheat the oven to 350 F. Wash and scoop all of the stems out of the mushrooms and some of the gills using a melon baller to make plenty of room in the cap for all the crab rangoon filling. Arrange the empty mushroom caps on an ungreased baking sheet.
Rinse and drain the crab, I bought claw meat because I figured it would already be chopped up and I was trying to save a little money since Jumbo Lump is quite expensive these days plus I wanted to stay away from the cheap process fake crab they use in California rolls. Make sure there are no small sharp pieces of shell and break apart and pieces that are on the larger size. Add in the Worcestershire sauce and lemon juice tossing to coat.
Next gently mix in the softened cream cheese and sour cream until you feel that everything is creamy and completely combined. Lastly mix in the green onions.
Using the melon baller scoop the filling into the prepared mushroom tops, I tried to push down the 1st scoop so I could put a 2nd on top and get as much as possible in each one. Bake for 20 minutes or until the mushrooms are soft and browned and the top of the filling has golden and slightly crisp top.
Put a smear of Thai Chili sauce on the bottom of the dish you will be serving these on or you could use it as a dipping sauce instead. Top each mushroom with 1-2 fried wonton noodles.

Enjoy!!  


Thursday, January 3, 2013

Seafood Paella


 I never pass up an opportunity to have Paella when we go out to dinner to a Spanish or Portuguese restaurant even though I always consider trying something new it never ever happens. I love seafood and this dish is a great way to enjoy all types of different shellfish. When I made my list of 30 foods I wanted to make by the time I was 30 two years ago I knew it would be at the top of my list. Unfortunately, I'm going to be turning 31 in March and I've only completed 7 or 8 things. I bought this special 17 inch carbon steel paella pan from Williams Sonoma months ago and patiently waited for the right time to make my favorite dish. Although the rice wasn't as yellow as I was expecting it to be, it turned out amazing and delicious. Paella is great for a dinner party or holiday occasion with friends and family so I knew it would be the perfect recipe to kick off 2013. 

Ingredients:
3 Links of Chorizo
16 - 20 Shrimp - Cleaned and Tails off
1 Bushel P.E.I. Mussels and / or
1 Bushel of Little Neck Clams
1 lb Bay Scallops
3 1/2 Cups Chicken Broth
1 Cup Arborio Rice
1/2 Tsp Spanish Saffron
1 Yellow Onion - Diced
2 Garlic Cloves - Minced
1 1/2 Cup of White Wine
1 Cup Frozen Peas
1 Roasted Red Pepper - Sliced
2 Tbsp Olive Oil
S & P

Adapted from: http://www.williams-sonoma.com/

Put your pinch of saffron in 1 cup of white wine for at least 10 minutes for it to infuse while you prep your onion and garlic. Pour the chicken broth into a small saucepan and place over low heat so it will be warm when you begin adding it to the paella. Put your paella pan over your largest burner, we have a oval center burner in the middle of our stove so I used that one. If you don't have a center burner you'll need to place it in between two of your largest burners and keep moving the pan around so the flame can get to all areas of the pan and it heats the food evenly.
 Over medium heat add the oil to the pan, once it is hot add the onions, cooking until soft and opaque about 5 minutes. Then add the garlic cook another 1 stirring so nothing burns. If you got raw chorzio add it to the pan, if you've purchased an already cooked variety you can add it later since it just needs to warm up.
Next add the rice allowing it to toast in the oil for a minute or two and mix in with the onions and garlic. Stir frequently. Also it's time to turn your chorizo over so it browns on both sides. Pour the wine with the saffron it in into the pan. Stir allowing the rice and aromatics to mix with the wine. Let this boil for a minute or two as the rice begins to absorb some of the wine.
Pour about a cup and a half of the broth into the pan and give it a good stir. Bring to a simmer and allow the rice to continue slowly soaking up the liquids, stir occasionally. If it begins to stick you can add a more broth little by little as it soaks it up. This whole process should take about 20 minutes.
Add your clean and defrosted scallops, shrimp and all but the last 1/2 of a cup of chicken broth to the pan. Give it a few good stirs and allow the seafood to cook for a few minutes. Grind some salt and pepper over the entire pan to season everything. It's now time to steam the mussels and /or clams separately  In a large pot over medium heat combine the remaining 1/2 cup of wine and 1/2 cup of chicken broth, bring the liquids to a boil, pour in the mussels and/or clams into the pot and cover. It will take about 3 minutes for them to steam and begin to open up. 
Since the rice should be almost done by now soaking up all of the liquids, add your frozen peas. If you have cooked chorzio this is when I would slice and add it to the pan. They will take about 5 minutes to cook and by then your rice and steaming shellfish should be finished. Turn your heat down to low, add your sliced roasted red pepper to the pan. Discard any of the shellfish that didn't open from the pot and add all of the opened steamed shellfish to the pan.
If you used raw chorizo, take them out of the pan, slice them up and add them back in. Stir the entire pan so that everything is completely mixed together. Sprinkle with some fresh parsley and allow it to sit for over for about 5 minutes before serving so all of the flavors can mold together.
Enjoy!! - Nicole

Linked at: http://mizhelenscountrycottage.blogspot.com/, http://www.mandatorymooch.blogspot.com/, http://www.michellestastycreations.com, http://www.momontimeout.com, http://www.thecountrycook.net, http://www.notyourordinaryrecipes.com, http://www.foodiefriendsfriday.com/, http://iamaddictedtorecipes.blogspot.ca, http://www.ishouldbemoppingthefloor.com/, http://www.flourmewithlove.com/, http://www.momstestkitchen.com/, http://www.pandpkitchen.com/, http://insidebrucrewlife.com/, http://www.chef-in-training.com/, http://www.nap-timecreations.com/, http://www.mandysrecipebox.blogspot.com/, http://www.ladybehindthecurtain.com/, http://djssugarshack.com/, http://thenymelrosefamily.com, http://www.hungrylittlegirl.com/, http://housewivesofriverton.blogspot.com/, http://www.sixsistersstuff.com/, http://www.gooseberrypatch.typepad.com/blog/

Monday, August 27, 2012

Corn Chowder with Shrimp and Bacon


Corn on the cob is one of my favorite things of the summer months. Here in NJ we have amazingly sweet corn but you have to wait until July to enjoy it. We've been receiving 4-5 ears of corn every week from Alan's Orchard for the past two months so I feel like I may turn into a corn on the cob if I eat it the traditional way one more time. I boiled my corn for this recipe but If you used grilled corn it may be even better than my version of this soup. This soup has a bunch of different flavors and they are layered into it as you cook so it becomes quite complex by the time you are eating it. The bacon gives it a salty and crispy aspect, the corn is sweet, and the broth is creamy. I'm not usually a huge soup fan in the summer but this Chowder may have changed my ways!

Ingredients:
3 Ears of Cooked Corn on the Cob
1 Red Pepper - Diced Small
1 Yellow Onion - Diced Small
2 Cloves of Garlic - Minced
3 Strips of Bacon - Diced Small
2 Cups Chicken Stock
1/2 Cup Light Cream
1 Tbsp Paprika
1 Tsp Red Pepper Flakes
8-12 Shrimp - Tails off and Deveined
S&P

Adapted from www.bevcooks.com

In a large pot over medium heat, cook the diced bacon, stirring occasionally until crispy. Remove the cooked bacon from the pot and set aside on a paper towel. If you have more than TBSP or so of bacon grease dump some of it out.
Cook your shrimp in the bacon grease over medium heat for about 3 minutes in total, a minute and a half or so on each side. They will be until pink and have curled up when they are ready. When they are finished cooking take them out and set them aside.
Now you can get all of your vegetables ready, dice your red pepper and onion, mince your garlic and cut the kernels off of the corn cobs. Over medium heat add the onion, saute about 5 minutes stirring occasionally. Add the garlic, paprika, crushed red pepper flakes, salt and pepper. Saute another minute.
Next add the corn and the red pepper to the pot. Mixing everything together to combine. Saute another minute or two. Pour in the chicken stock, give it a few good stirs. Then poor in the light cream, give it another stir. On low allow the soup to simmer for about 20 minutes, this will allow the flavors to combine and the soup to thicken.
If you have an immersion blender give the soup a few good pulses. If you don't ladle about 2 cups of the soup into a blender and pulse until creamy. Return to the pot. Allow to cook another 5 minutes or so, stirring occasionally. Taste and salt and pepper again if needed. Ladle into bowls and top with shrimp and crispy bacon pieces.
Enjoy!! - Nicole

Related Posts Plugin for WordPress, Blogger...